Preserving Autumn Apples
How-to Guide

I had a friend call me the other day who asked about preserving apples, so I thought this might be something others are interested in learning to do.
The process is rather straightforward – cook the apples, pour into glass jars and preserve in a water bath…
First, cook the apples
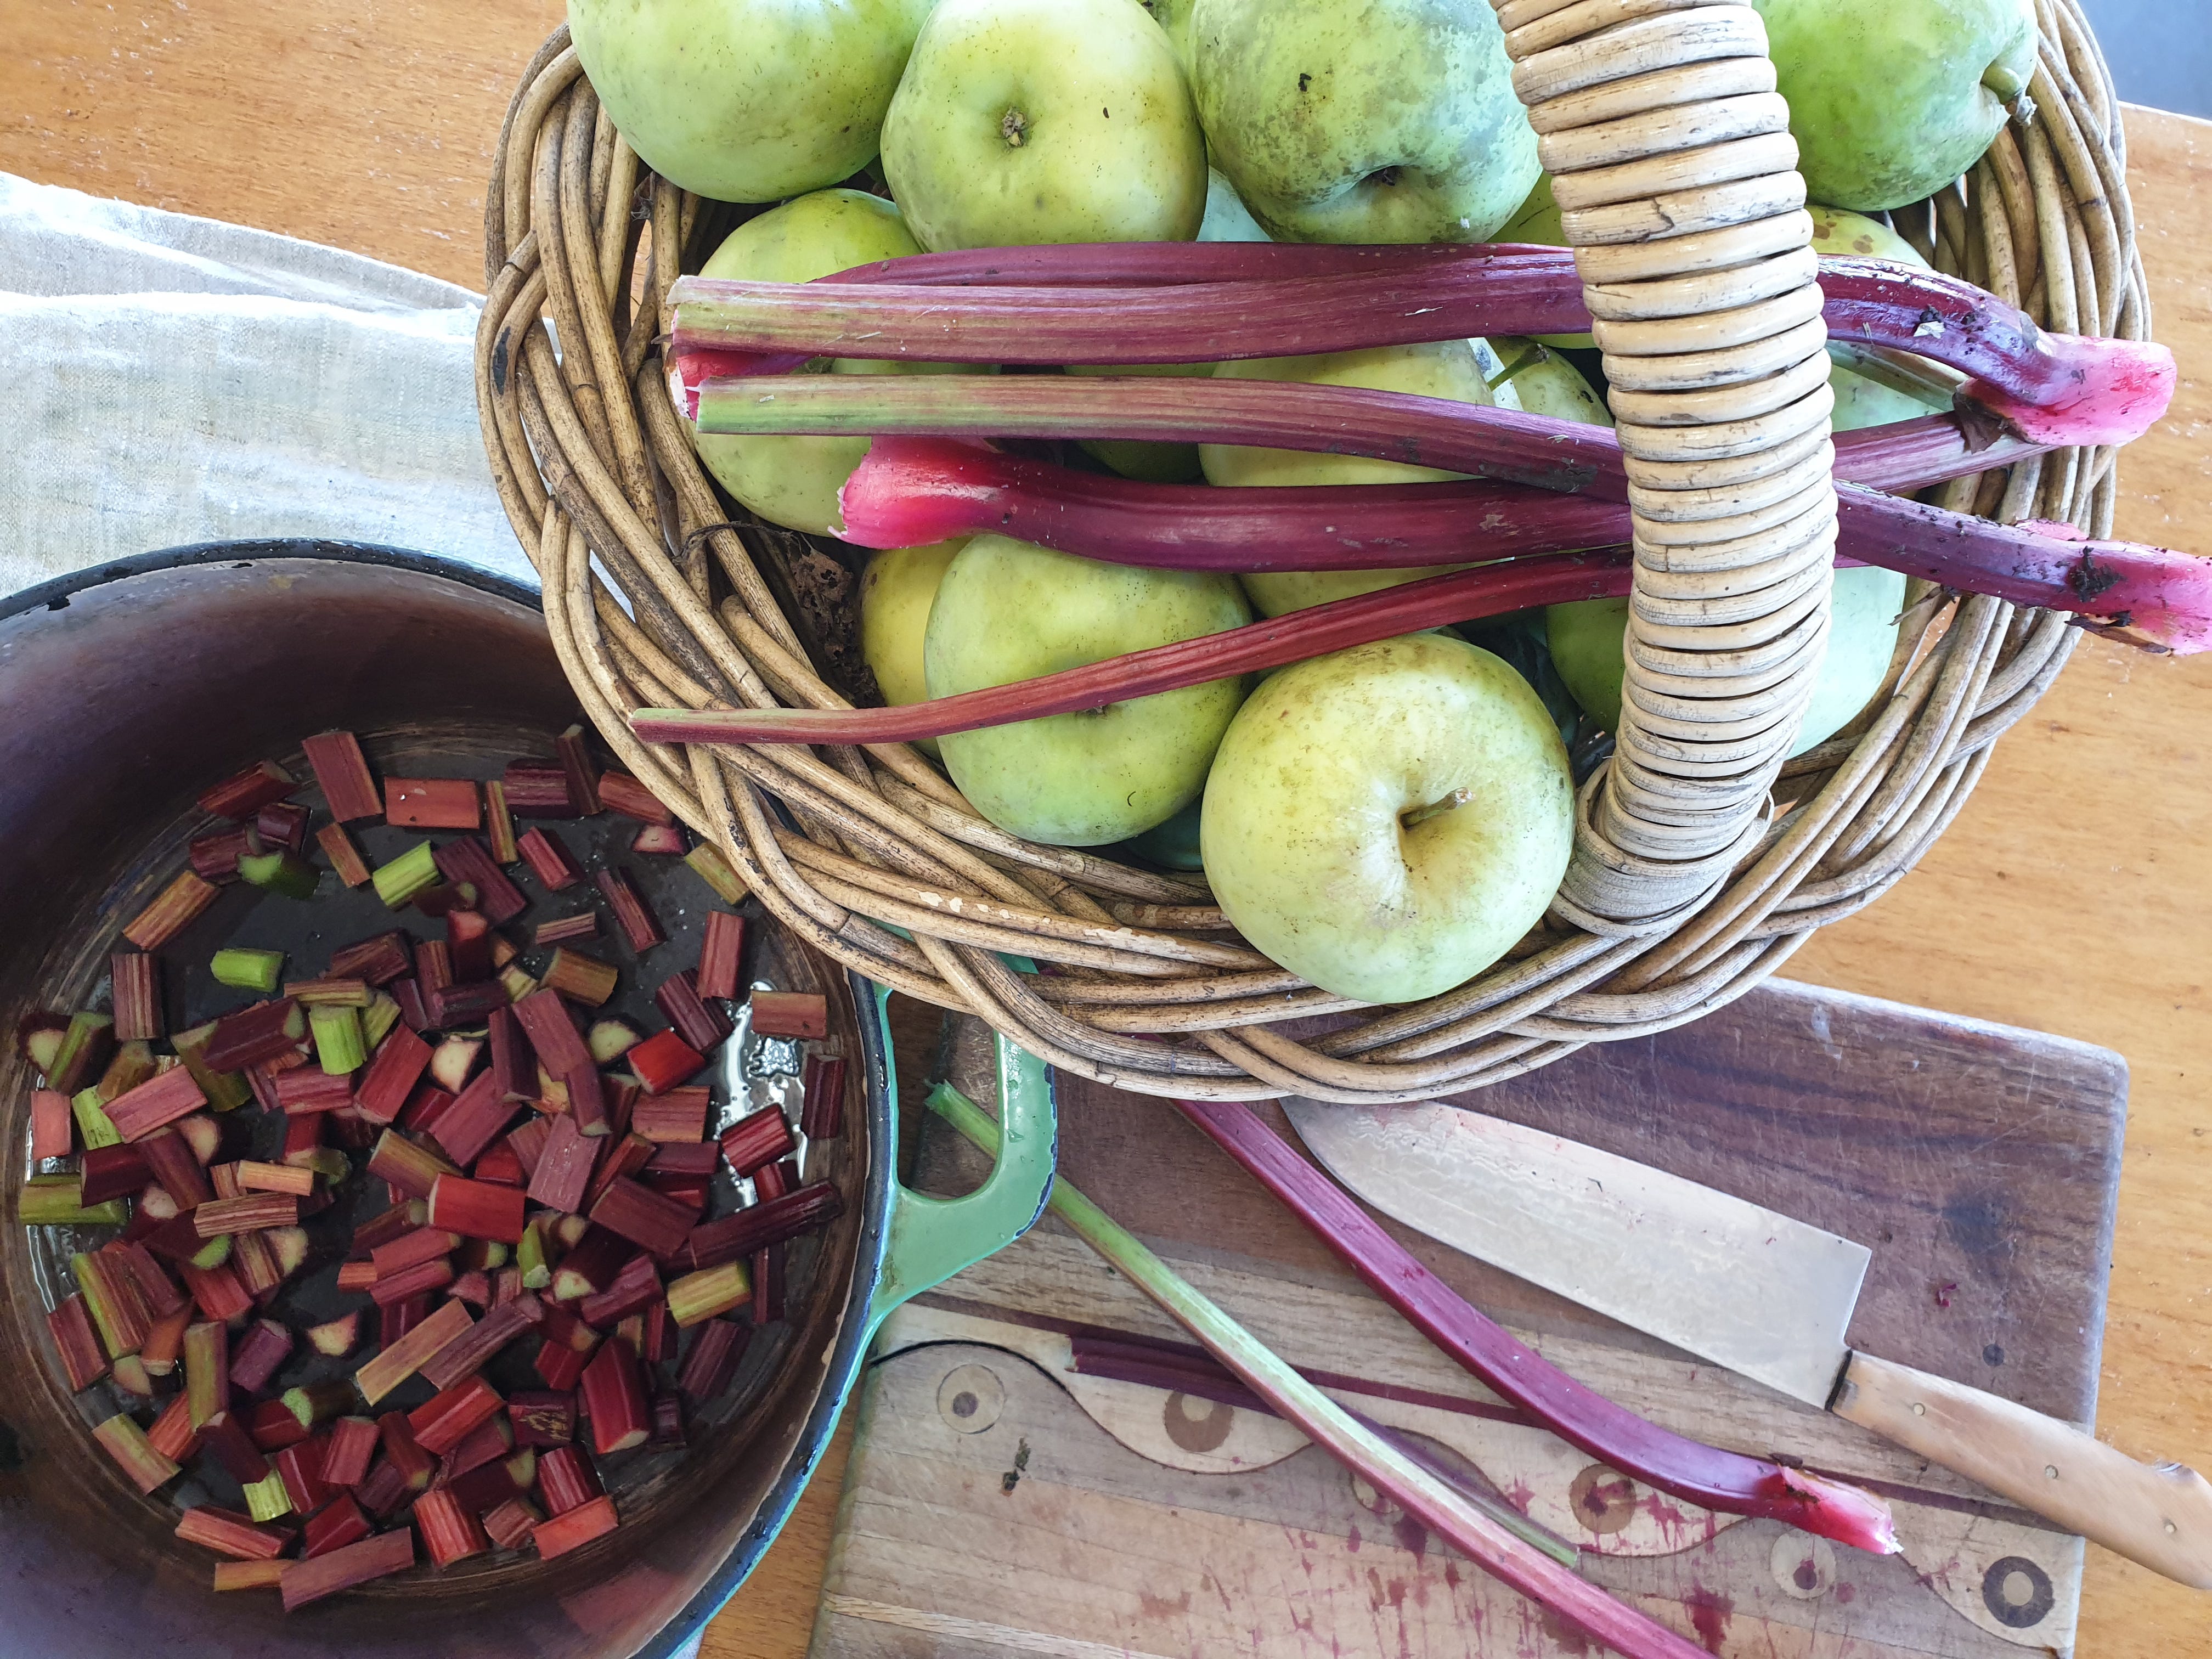
Choose organic or foraged apples. You can peal the apples if you like, I don’t - it’s time-consuming and a lot of nutrients are in the skin. Cut out the core and roughly chop the apples. Place in a pot and cook. I use cast iron because it’s my favorite, but you can use whatever you have. Alternatively, you can use a slow cooker – I find they just aren’t big enough, but if you are only preserving a small amount at a time, it will work fine.
Add flavor
Apples preserve well just by themselves, but you will need to use them quickly. For a longer shelf-life, make them more acidic by adding sugar. You can also add lemon juice. If you want to season the apples consider adding vanilla, cinnamon, mixed spice or other fruits/veg like chokos/chayote/mirliton, berries or rhubarb. You can add honey for flavour or maple syrup.
My favorite is to add rhubarb to sweet apples (not Granny Smith) along with a capful of rose water, sugar and a dash of cinnamon.
Prepare the water bath
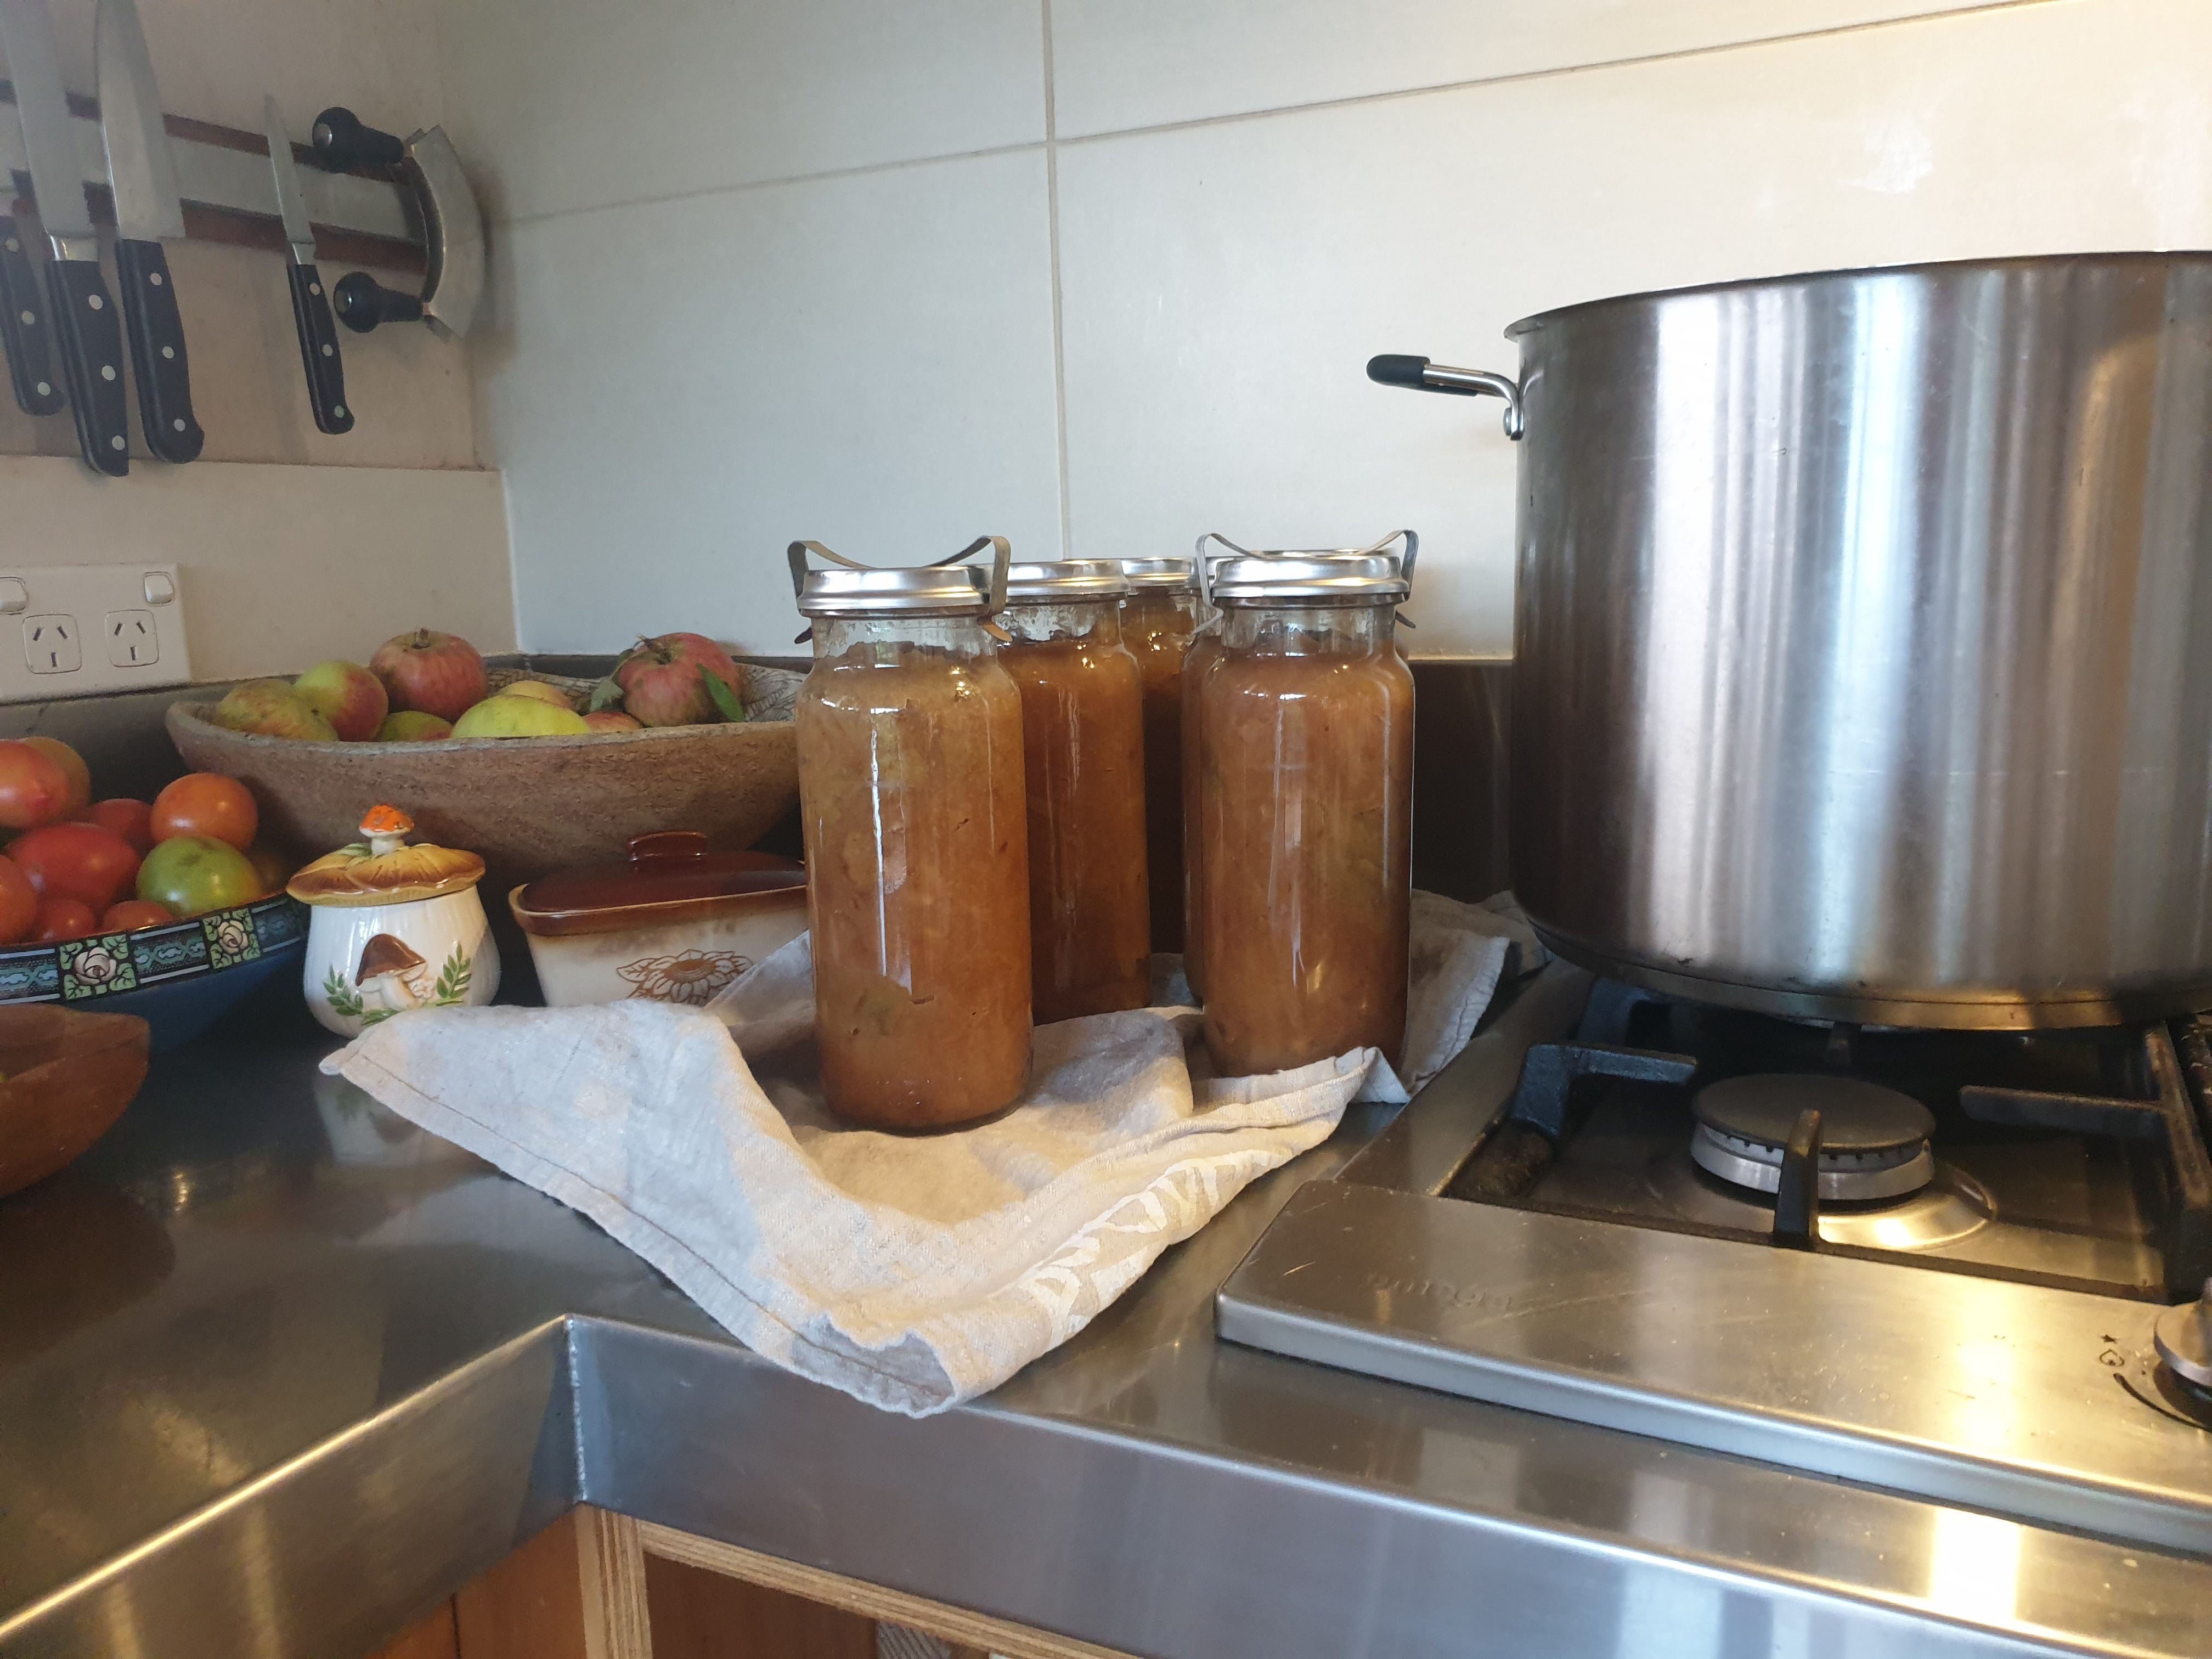
Once cooked to the consistency you like, turn off the heat and allow the apples to cool a bit. Place the cooked apples into glass jars with good-fitting lids, but leave a space at the top, maybe about an inch (2.5cm). I use old-fashioned preserving jars like the ones pictured below, but you can use Ball jars or old jars from store-bought products. Just make sure all the jars are the same size – this is important

Once the jars are filled and the lids are on, place the jars in a proper bottling system, like Fowler’s Vacola (pictured below); or use a good, heavy-bottom pot (pictured above) with a tea towel/cloth on the bottle to prevent the glass from banging against the pot and breaking. The jars need to fit well with no spaces empty. If there is space, fill it with an empty jar full of water (no lid necessary).

Now, fill the pot with water until it reaches 3/4 of the height of the jars. Turn the heat on to high, once you hear the water boiling, turn the heat down to a simmer. You should still be able to hear the water and bottles moving a bit in the pot. Leave for half and hour, then turn off the heat. Leave until cool enough to handle. I do this at night and just leave the whole thing to deal with in the morning when it’s cool.
Store your jars in the pantry until you need them. Once open store in the fridge.
How to serve them
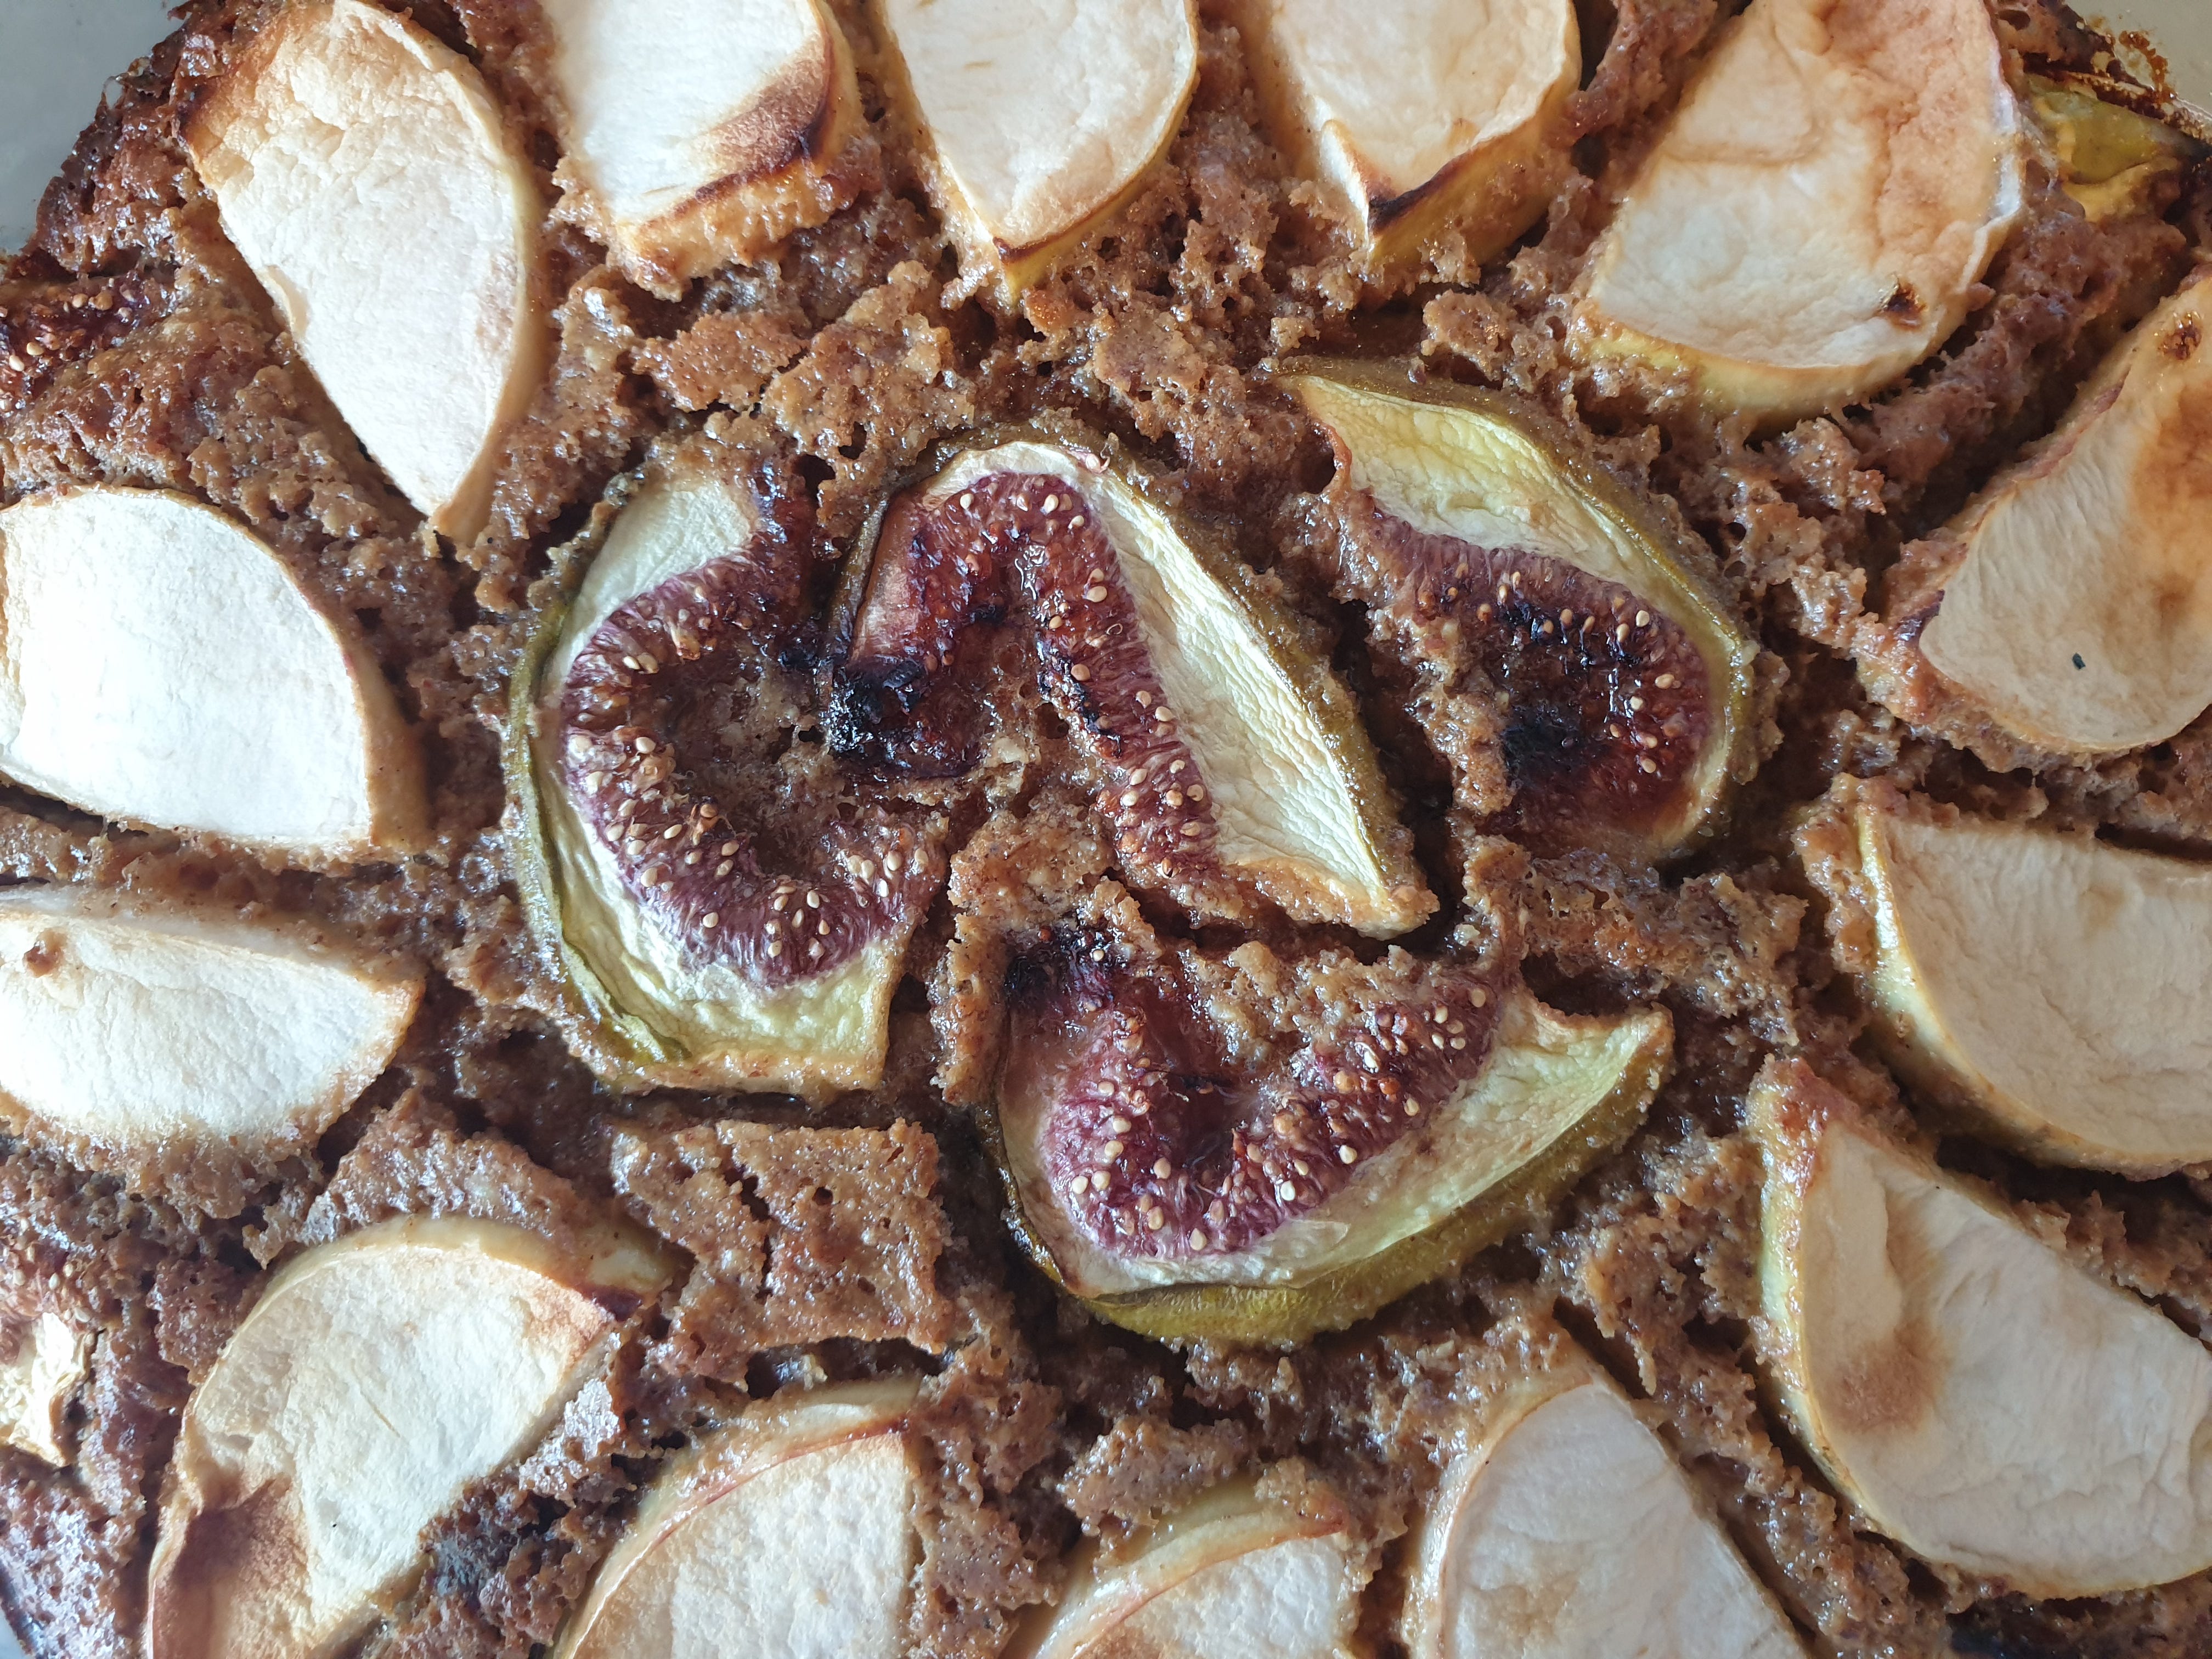
You can eat the apple sauce/stewed apples as they are or topped with a bit of cream, yogurt or coconut cream. This makes easy apple pie filling or apple crumble; serve alongside pork; put some on top of oatmeal/porridge or layer it into parfaits. My favourite way to eat apple sauce is to gently reheat it and add butter when it’s warm, stir well and serve with pouring cream.
NOTE: Stewed apples are particularly good for gut health as the pectin in the apples is healing and soothing to the intestinal lining. If you suffer from GI issues, try a serve of stewed apples each day.