


Natural Dyeing
and other Winter projects

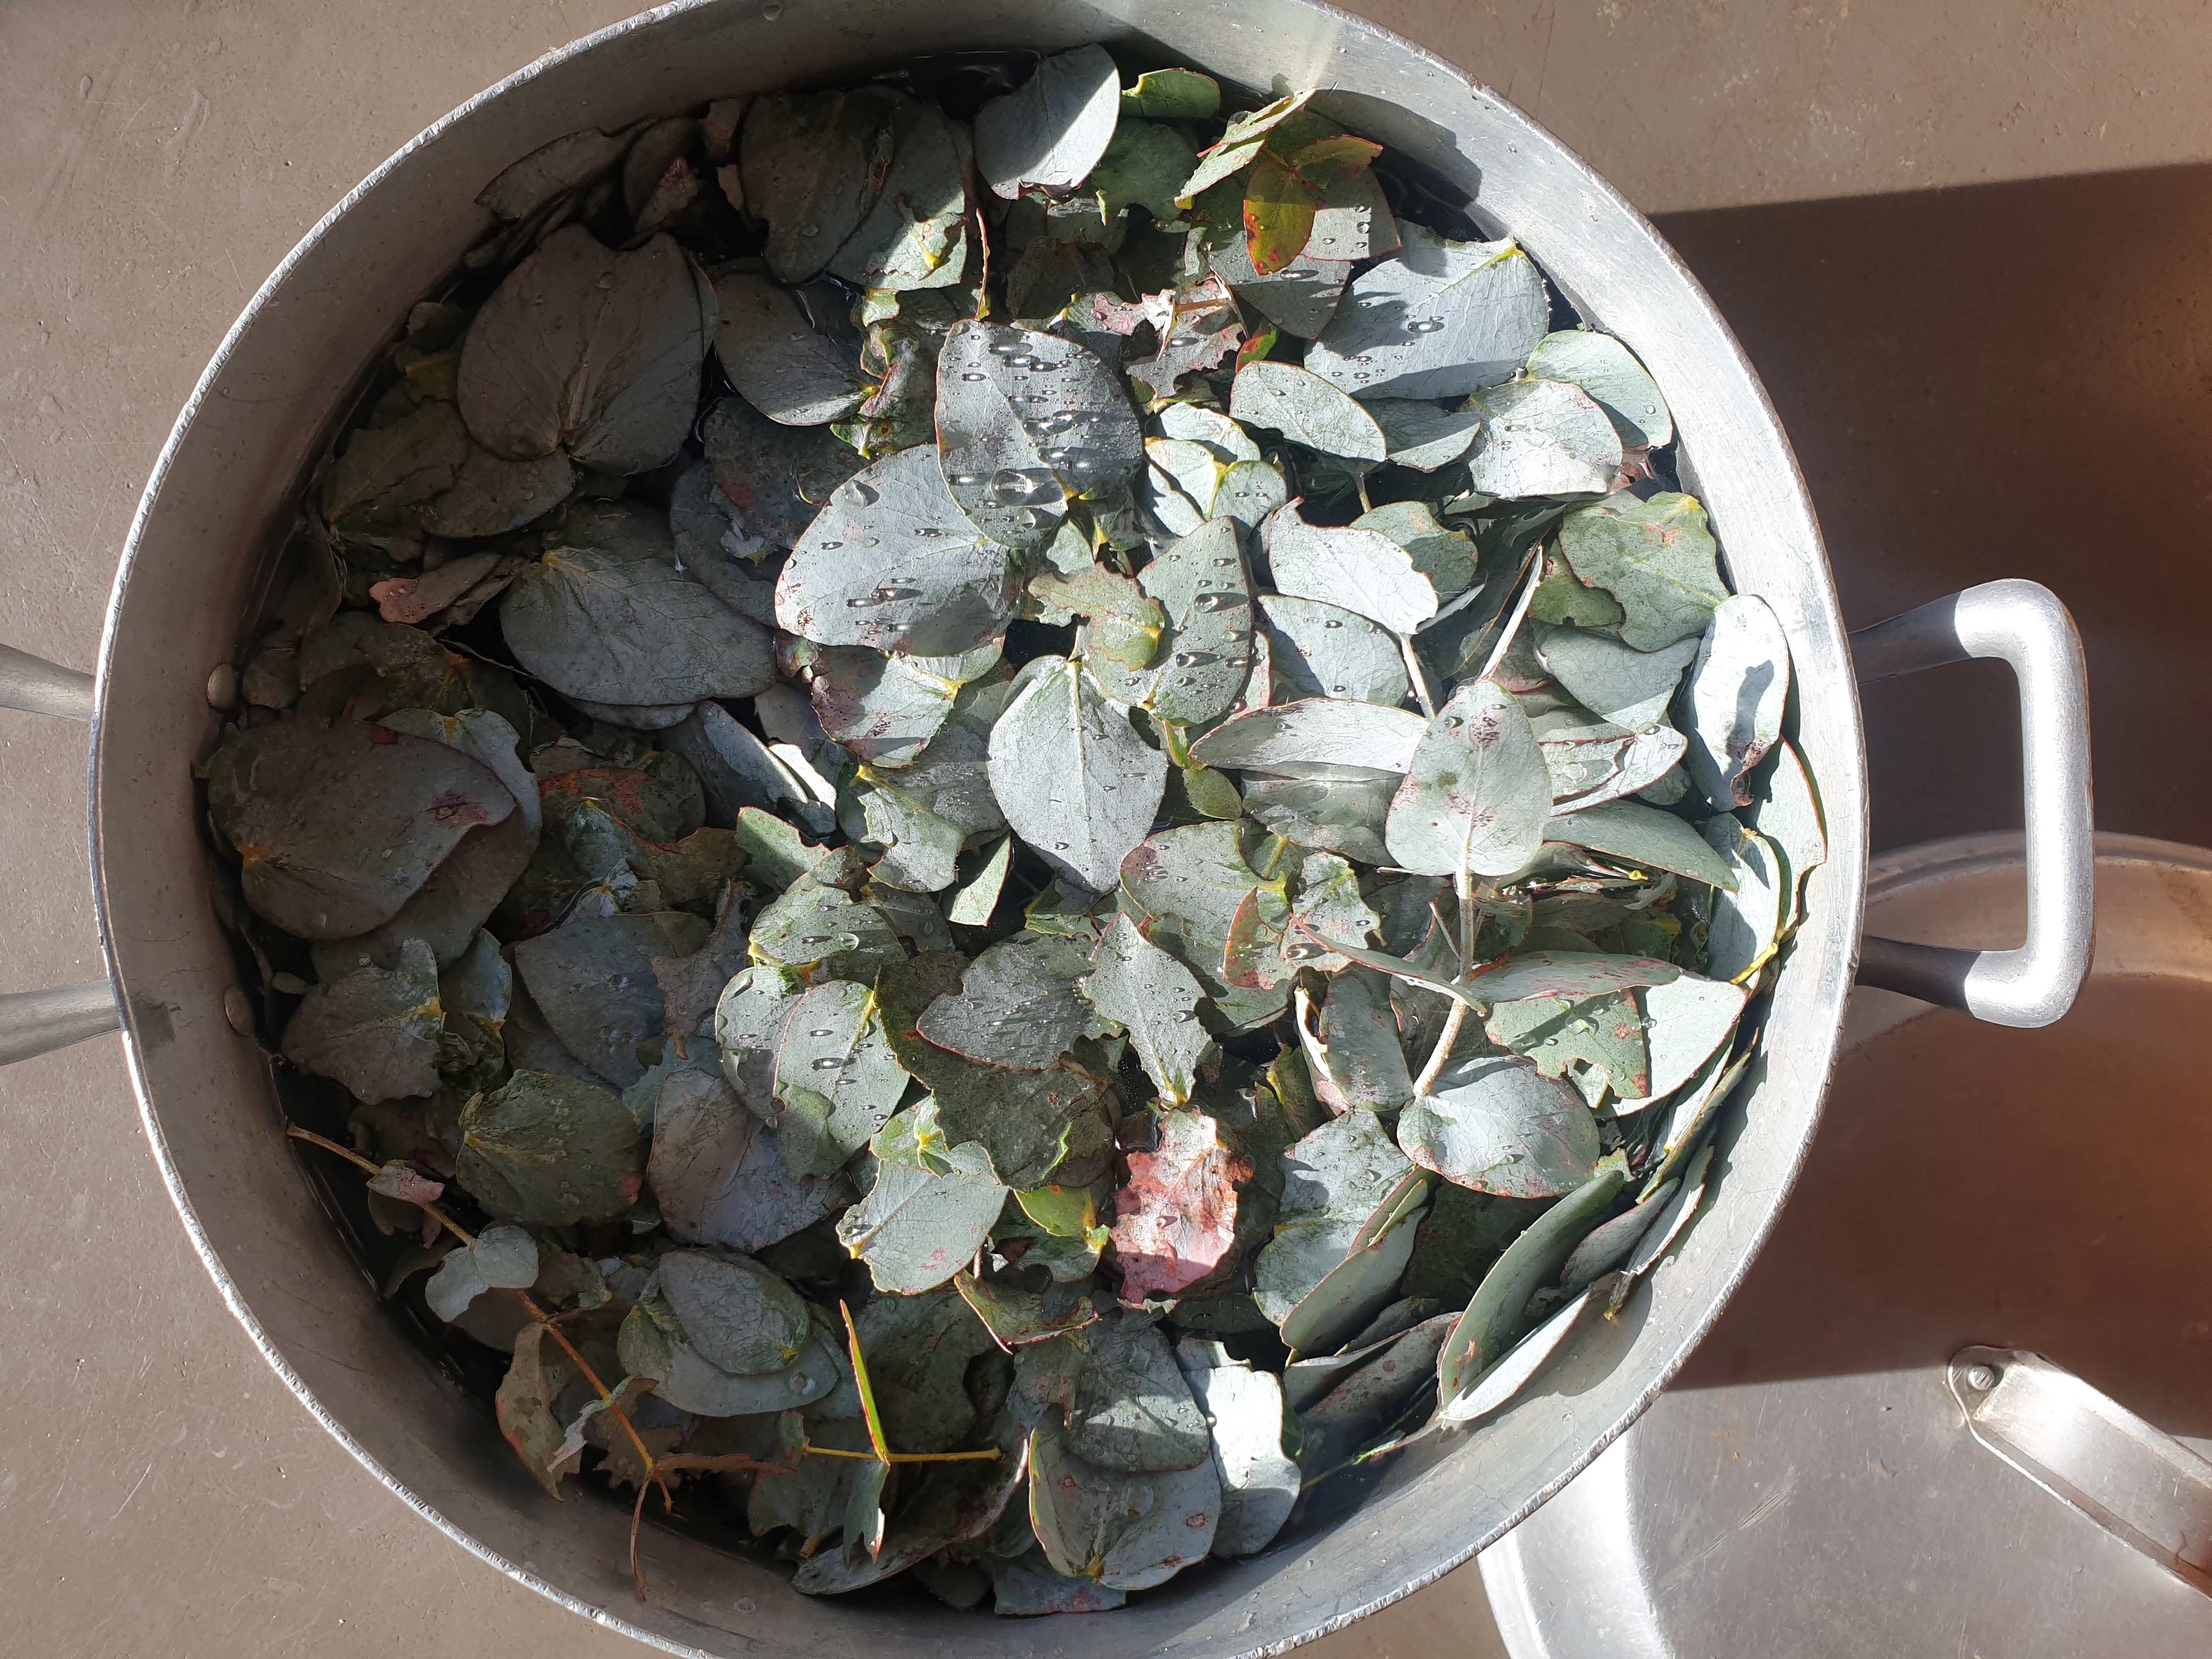
eucalyptus leaves in an aluminium pot
In Australia we are on our Winter school holidays. With three weeks off I thought I would try to make some time for art projects (‘time off’ is, of course, only in theory - what homeschooling, homesteading mom with a business to run actually gets three weeks off?) Anyway, I’m not talking about chores cloaked in the veil of art, like mending socks and sweaters, but something for the pure joy of it.
My list of projects looks like this:
create a natural dyepot or two using plant material I have here on the property to dye clothes, yarn/wool, thread and fabric (to use in future art projects)
a weaving project using locally dyed yarn
basket-making with handmade New Zealand flax cordage
work on an embroidery project I have had hanging around for a while now
cut and dry the African Lovegrass in the paddock/pasture to make a hand broom
try whittling a gnome or person out of local wood, maybe pear/apple, willow or privet
I’m happy to report I have accomplished a few of these projects!
The picture at the top of this article is of the amazing silver-blue leaves of a beautiful Eucalyptus tree on the side of the property. After covering them with water, I placed the pot on the wood stove and allowed them to steep overnight. In the morning I had this lovely peachy-orange dye shown below.

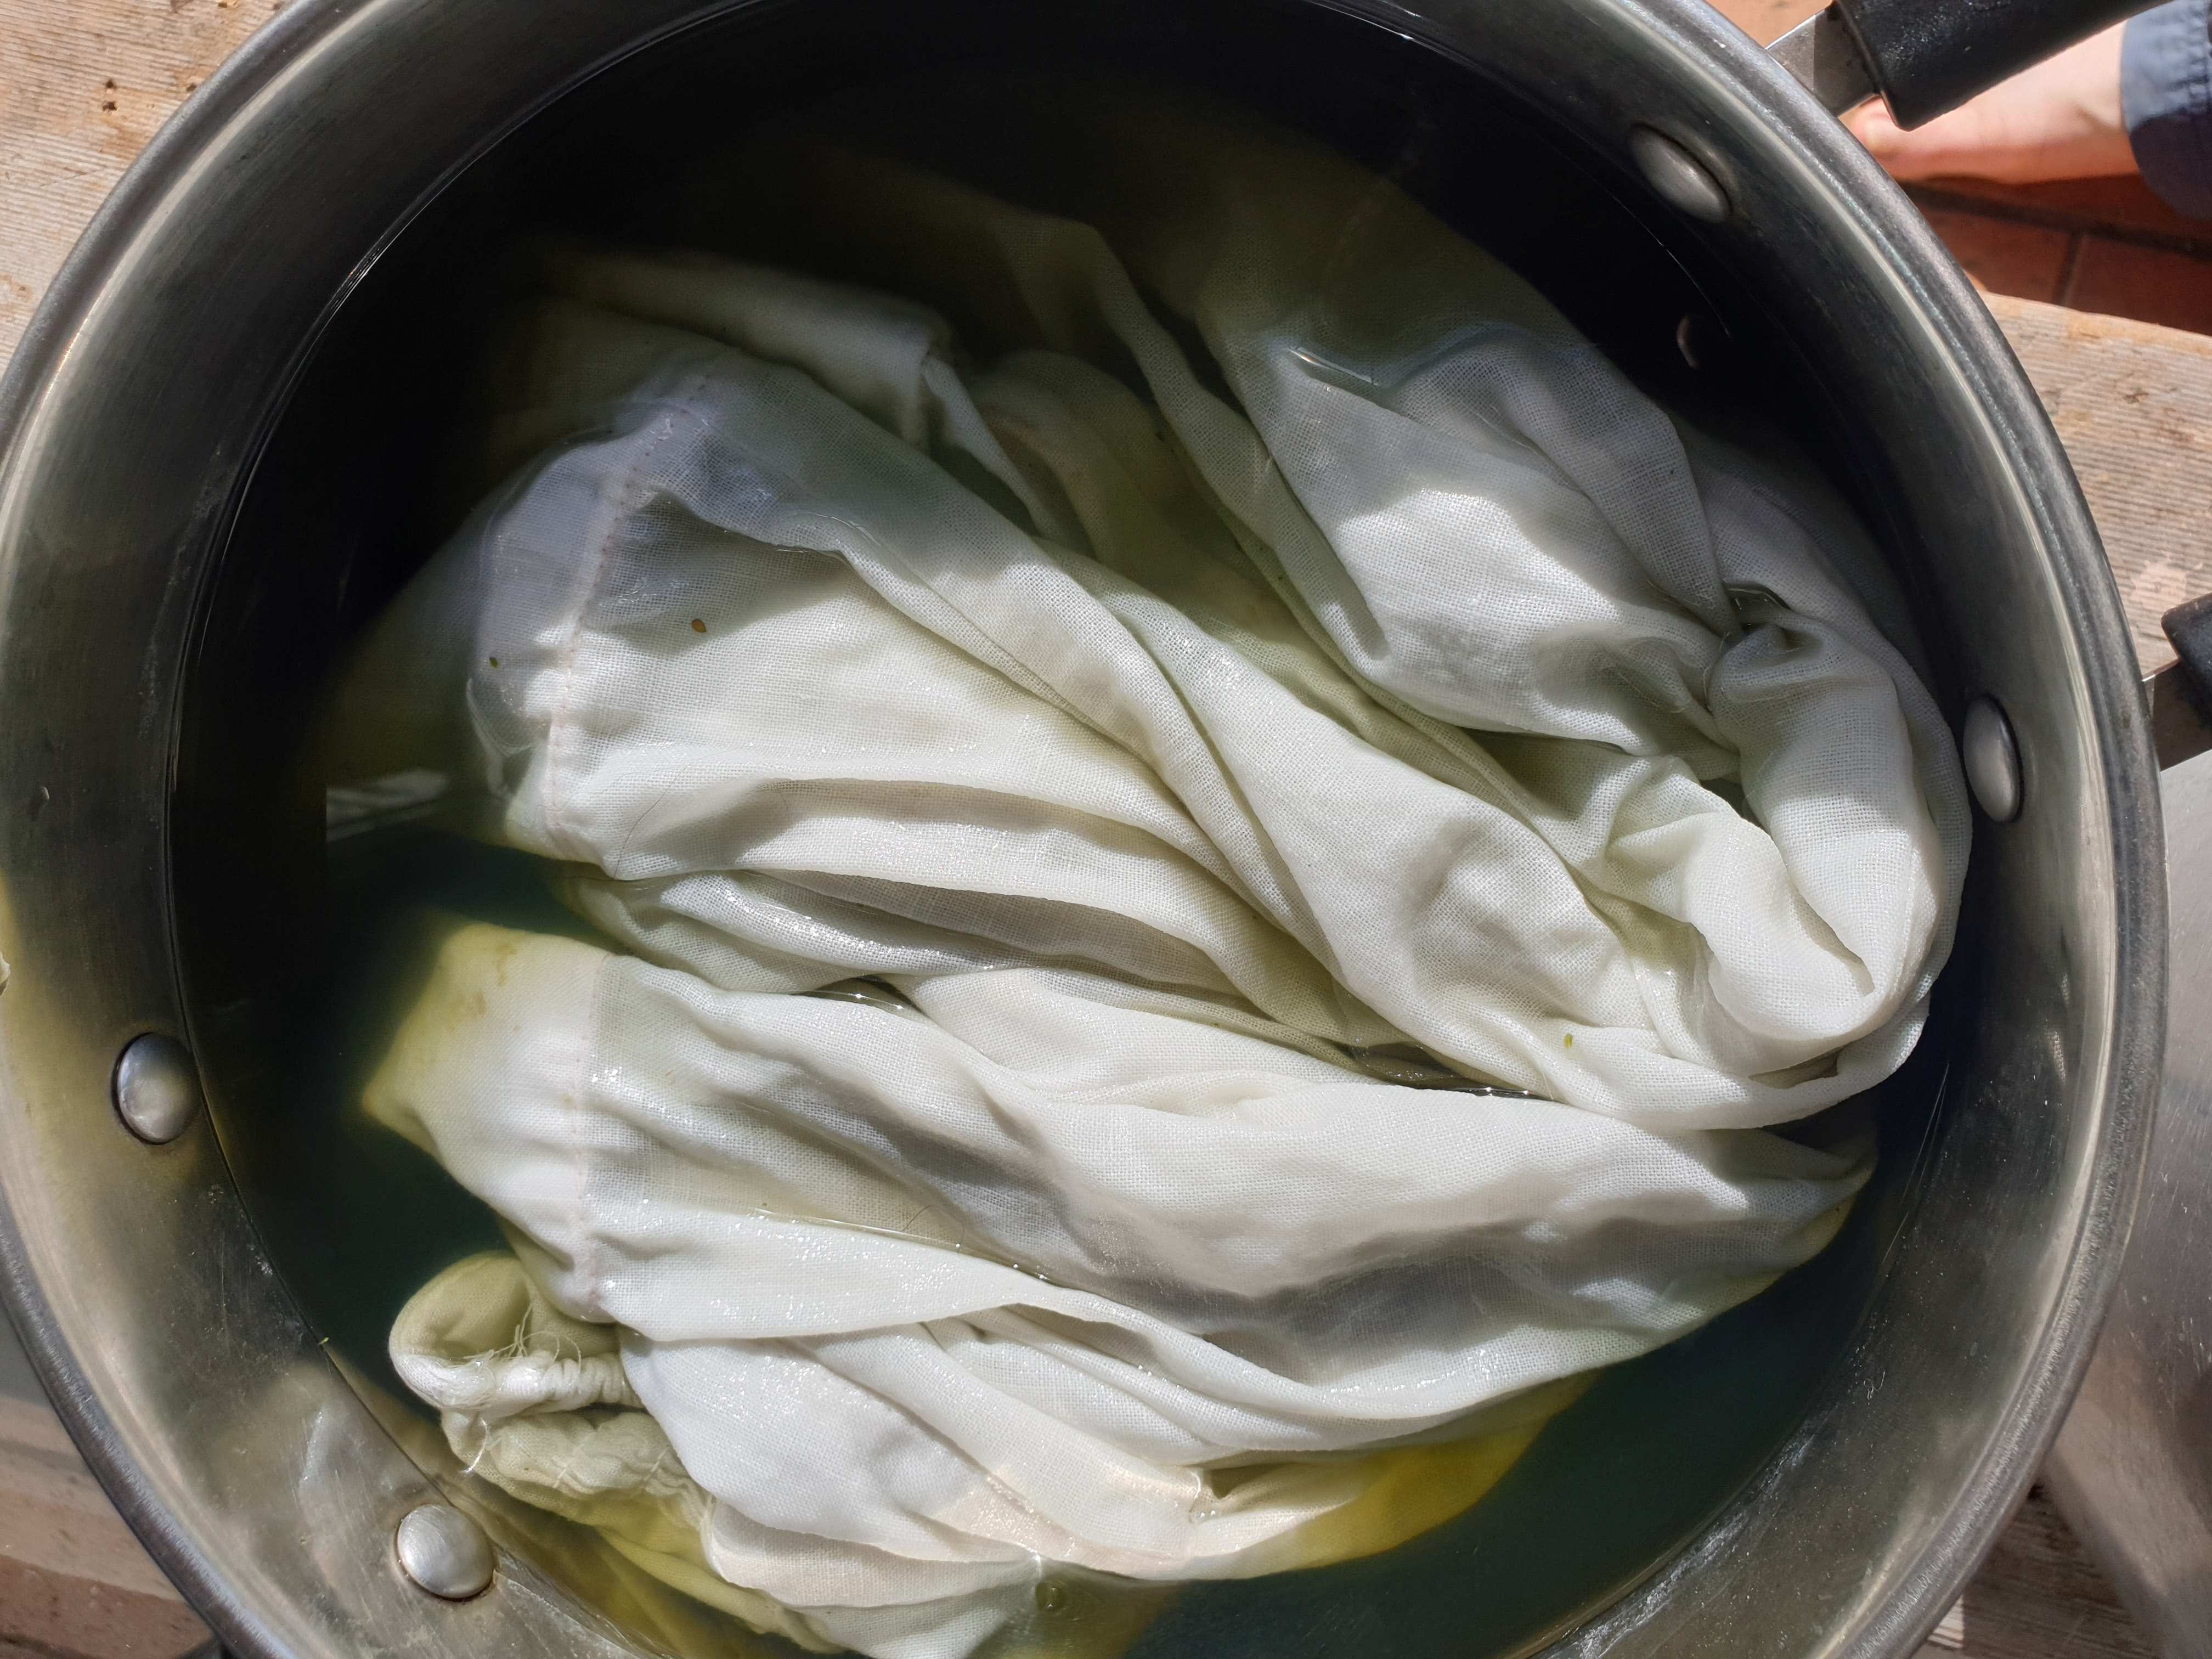
silk shirt soaking in a eucalyptus dyepot, no modifier
While the gum leaves were boiling on the heater, I soaked a silk shirt, some locally-made wool yarn, a bunch of white cotton thread and an old linen tea towel in soy milk and water overnight. The soy milk acts as a mordant which helps the fabric hold the dye. In the morning, I rinsed out the shirt, etc. with fresh water.
I strained the leaves out of the dyepot then added the materials to the dye, placed the lid on and put the pot outside for a couple days. I stirred the contents several times each day. Last, I removed everything from the pot and rinsed them well and hung them on the line to dry. They all turned out a wonderful peach color!
The same night I made the eucalyptus dye I also made a dye out of nettle, as it is invading my vegetable garden. I went through the same processes as above. This dye turned out a subtle green colour which you can see below on this pair of linen pants.
linen pants in a nettle dyepot
After I removed the clothes, wool, etc, from the pots, I placed some of the dye in 2 additional glass jars and added a different modifier to each one - aluminium and copper. This gave me:
eucalyptus dye with alum added - a brighter orange color
eucalyptus with copper water added - a yellow/orange color
nettle with alum - yellow/green
nettle with copper - grey/green in color
I added a piece of fabric to each glass jar and allowed them to saok for 2 days. I will use these swatches, and the dyed wool and string in future art projects.
If you are interested in natural dyeing check out Rebecca Desnos, she has lots of resources and zines.
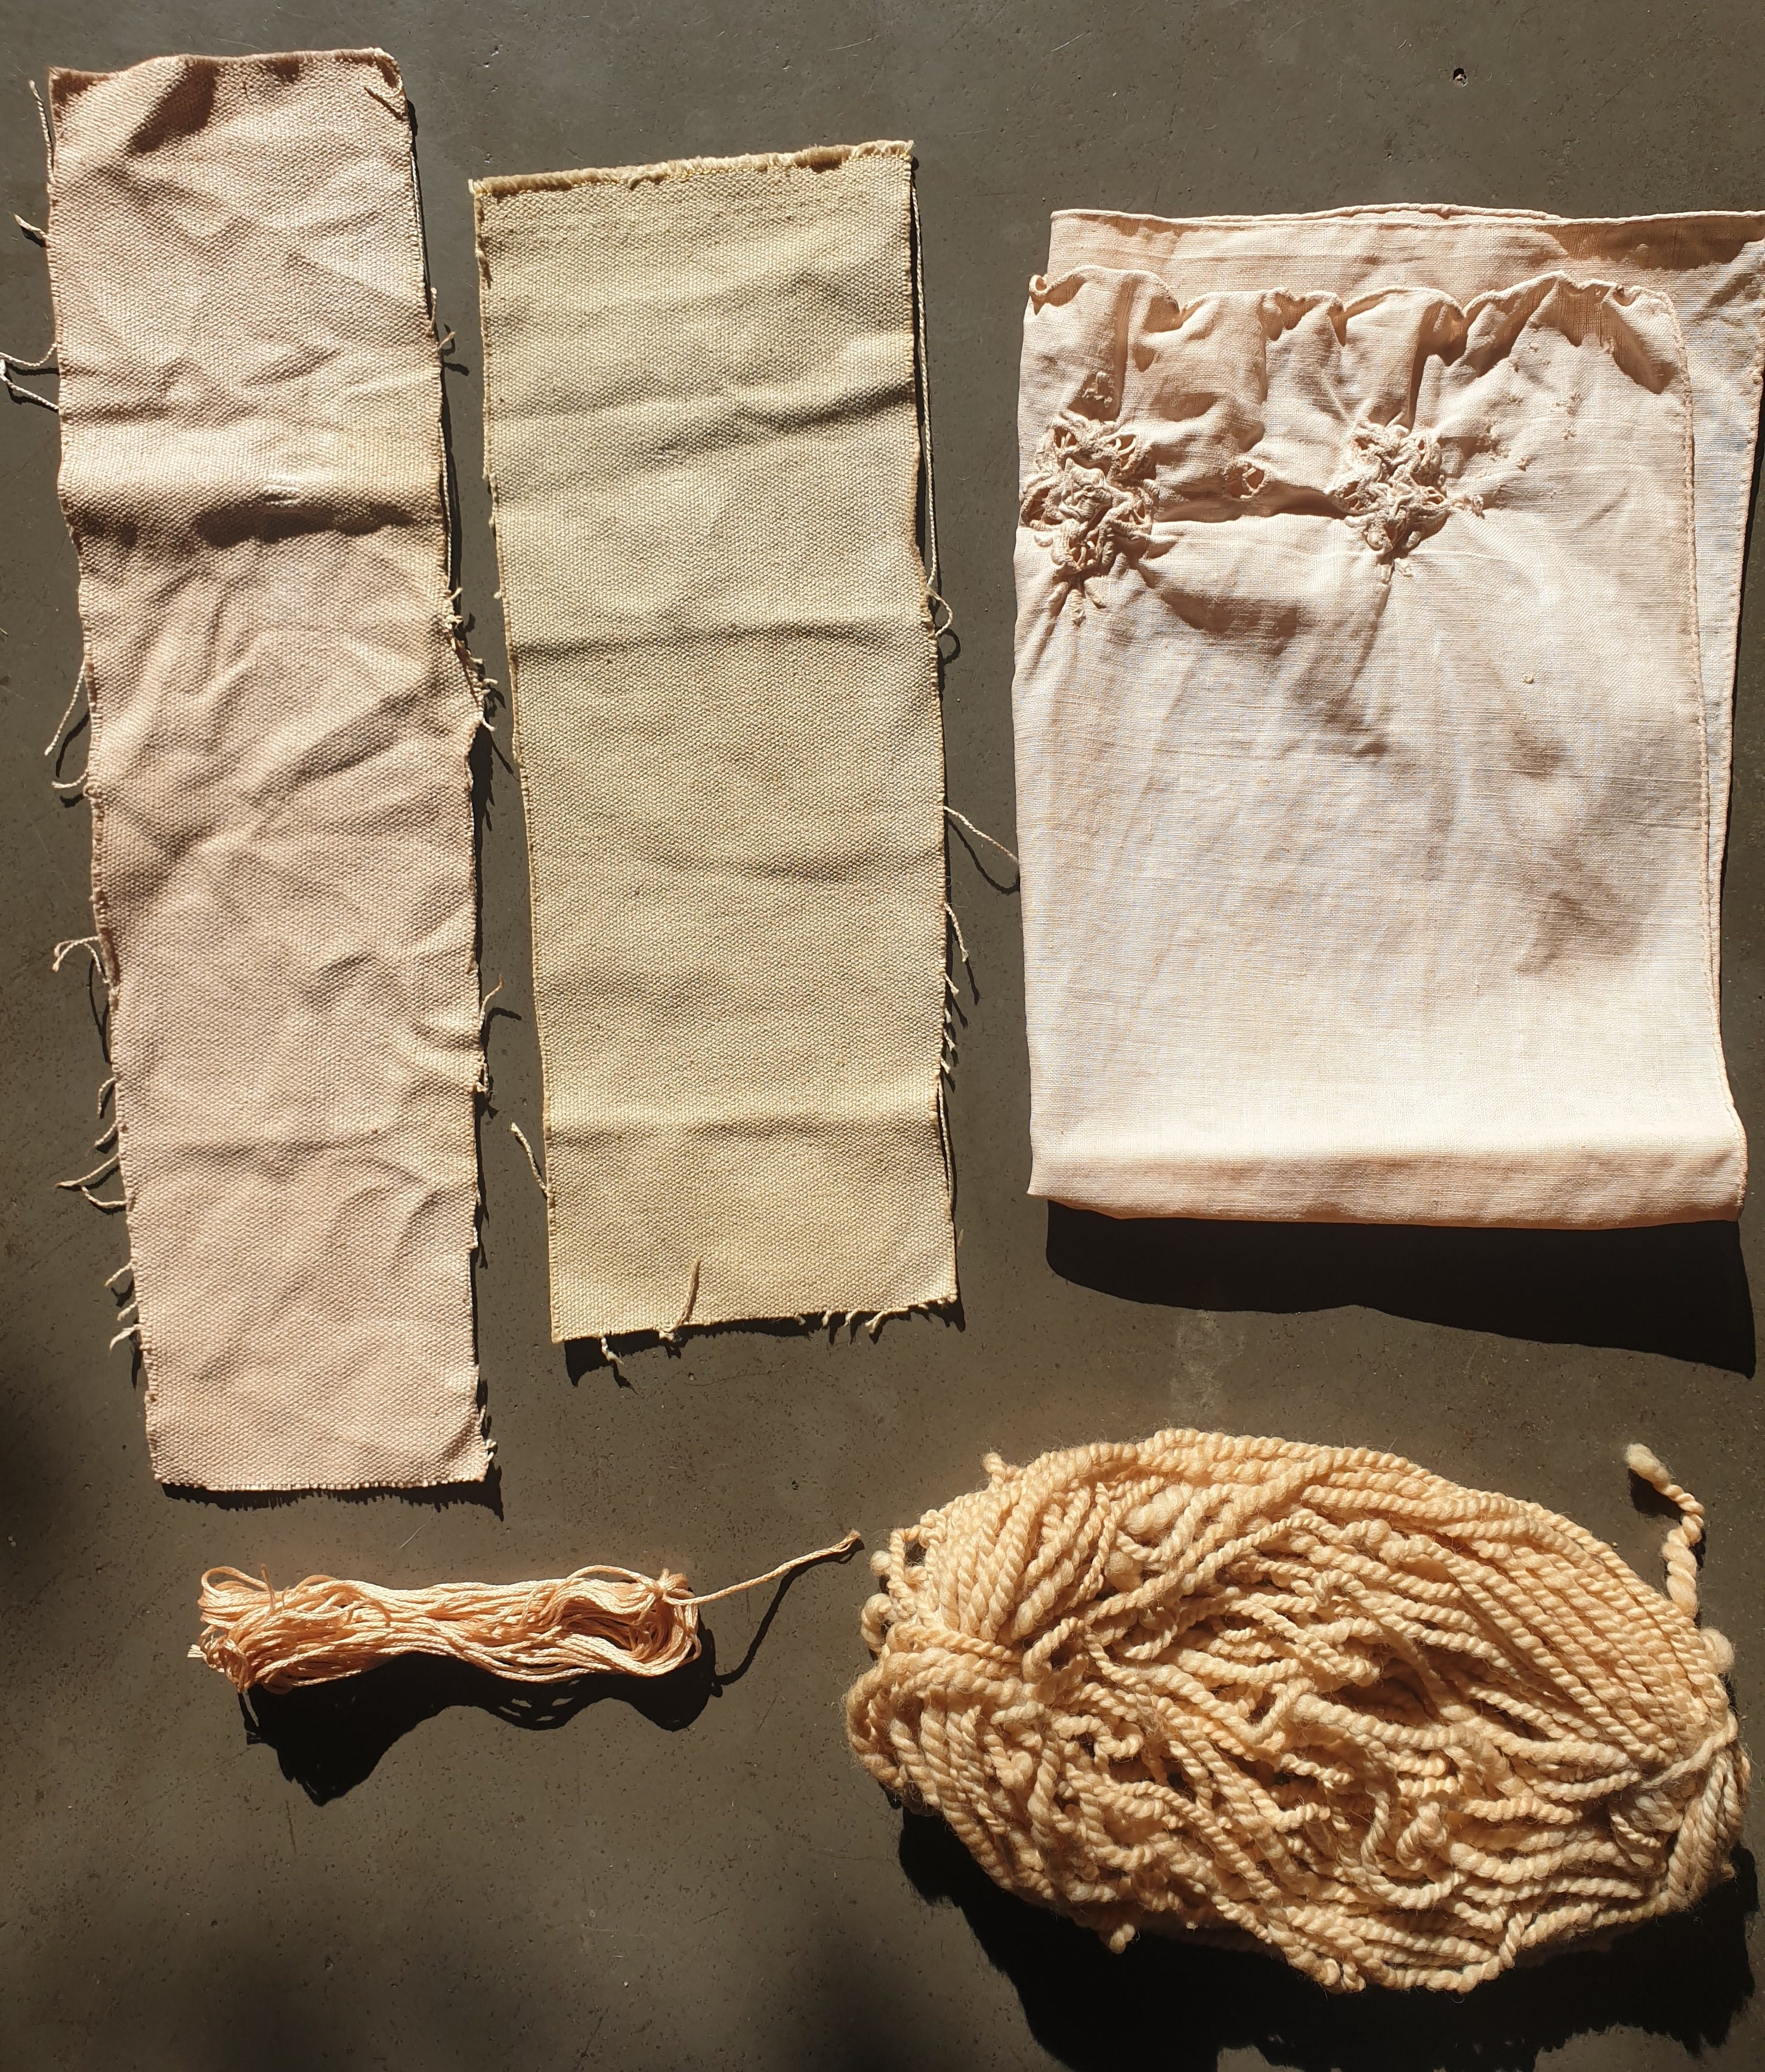
eucalyptus dyed materials, from left to right on top row - cotton fabric with an aluminum modifier, cotton fabric with a copper modifier, linen tea towel without a modifier; cotton thread and wool yarn without a modifer
The second project I was able to finish is this New Zealand flax basket below. Previously, I made the cordage - some from NZ flax and wool (sides of the basket), some just NZ flax (bottom of the basket). Once you have the cordage made you just sew the basket together with strands of NZ flax that you strip from the long leaves.
I love to use NZ flax for baskets as it is pliable yet very strong. There are plenty of online classes you can take to learn how to make baskets and cordage, but I like Craft School Oz.
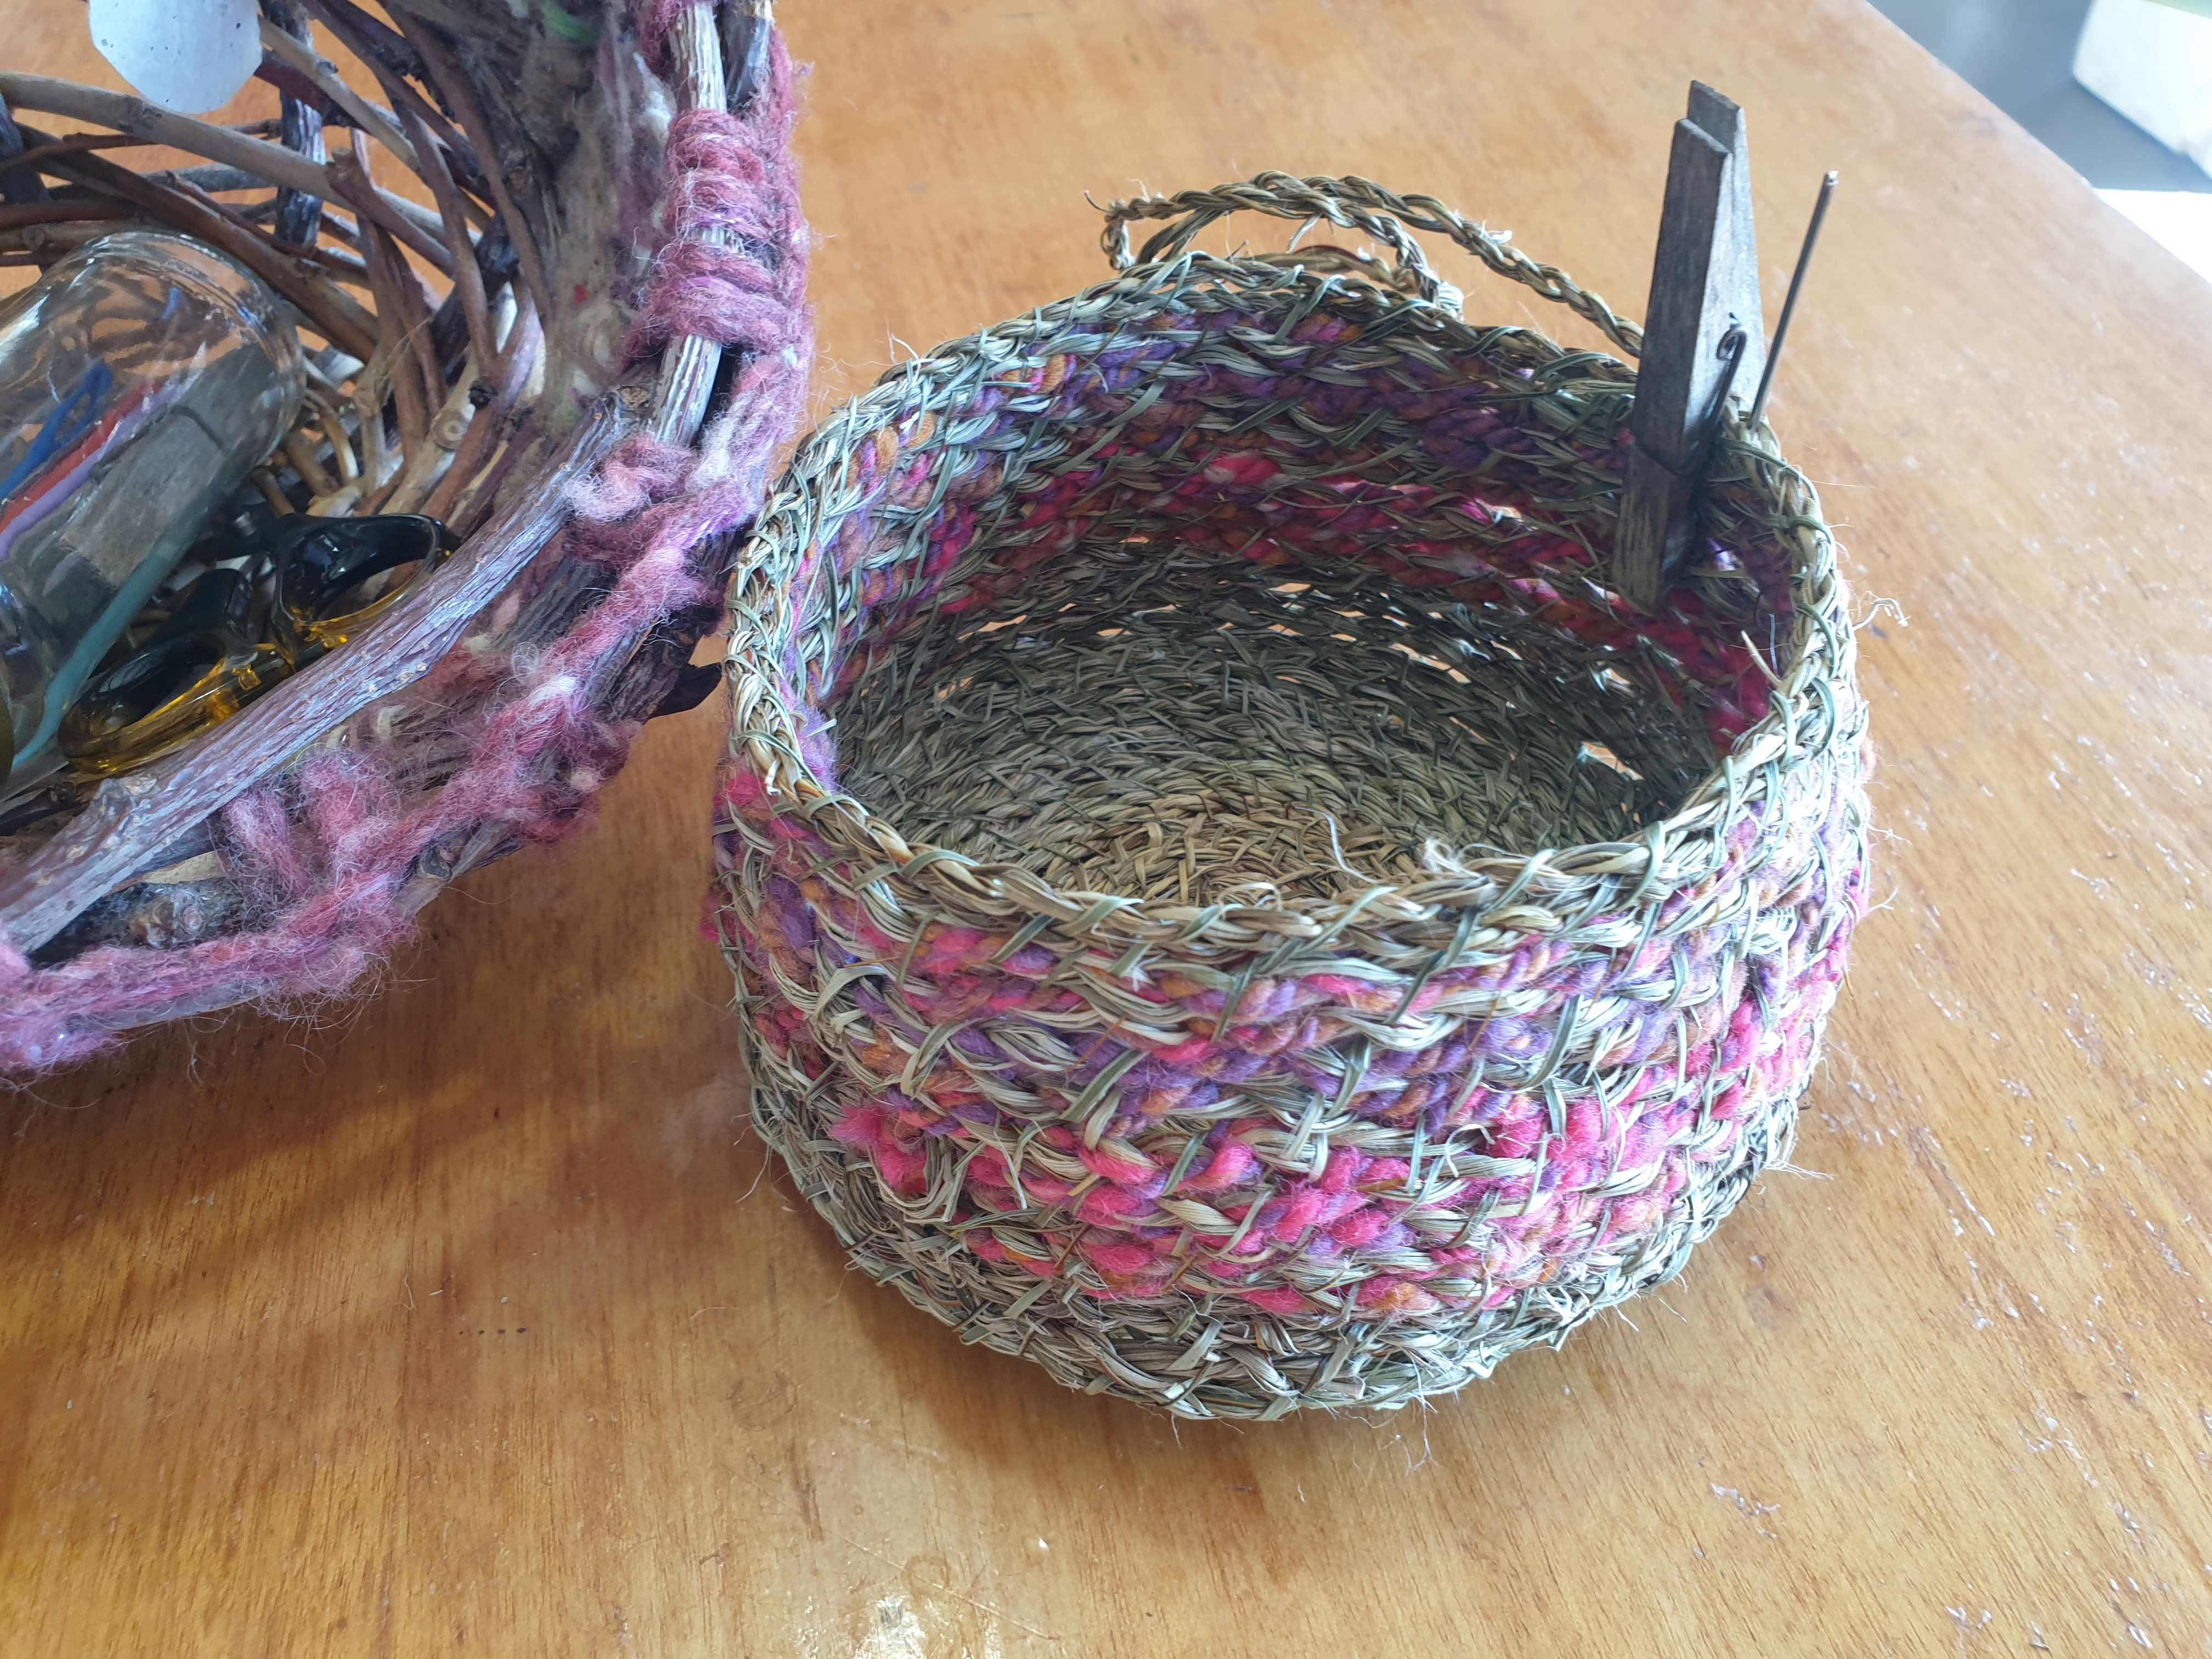
basket made with locally-dyed and harvested wool and New Zealand flax
The weaving project is complete as well (pictured below) and I have cut the African Lovegrass to use as the material for a hand-broom and will record that process and post it in the future once I’ve completed the project.
As for whittling, I have just found out that a friend of mine whittles as a hobby! I’m going to have a lesson with her and I will post the results of that in a future article as well.
The embroidery project….well, I’ve done a bit on it, so I hope that counts.
